
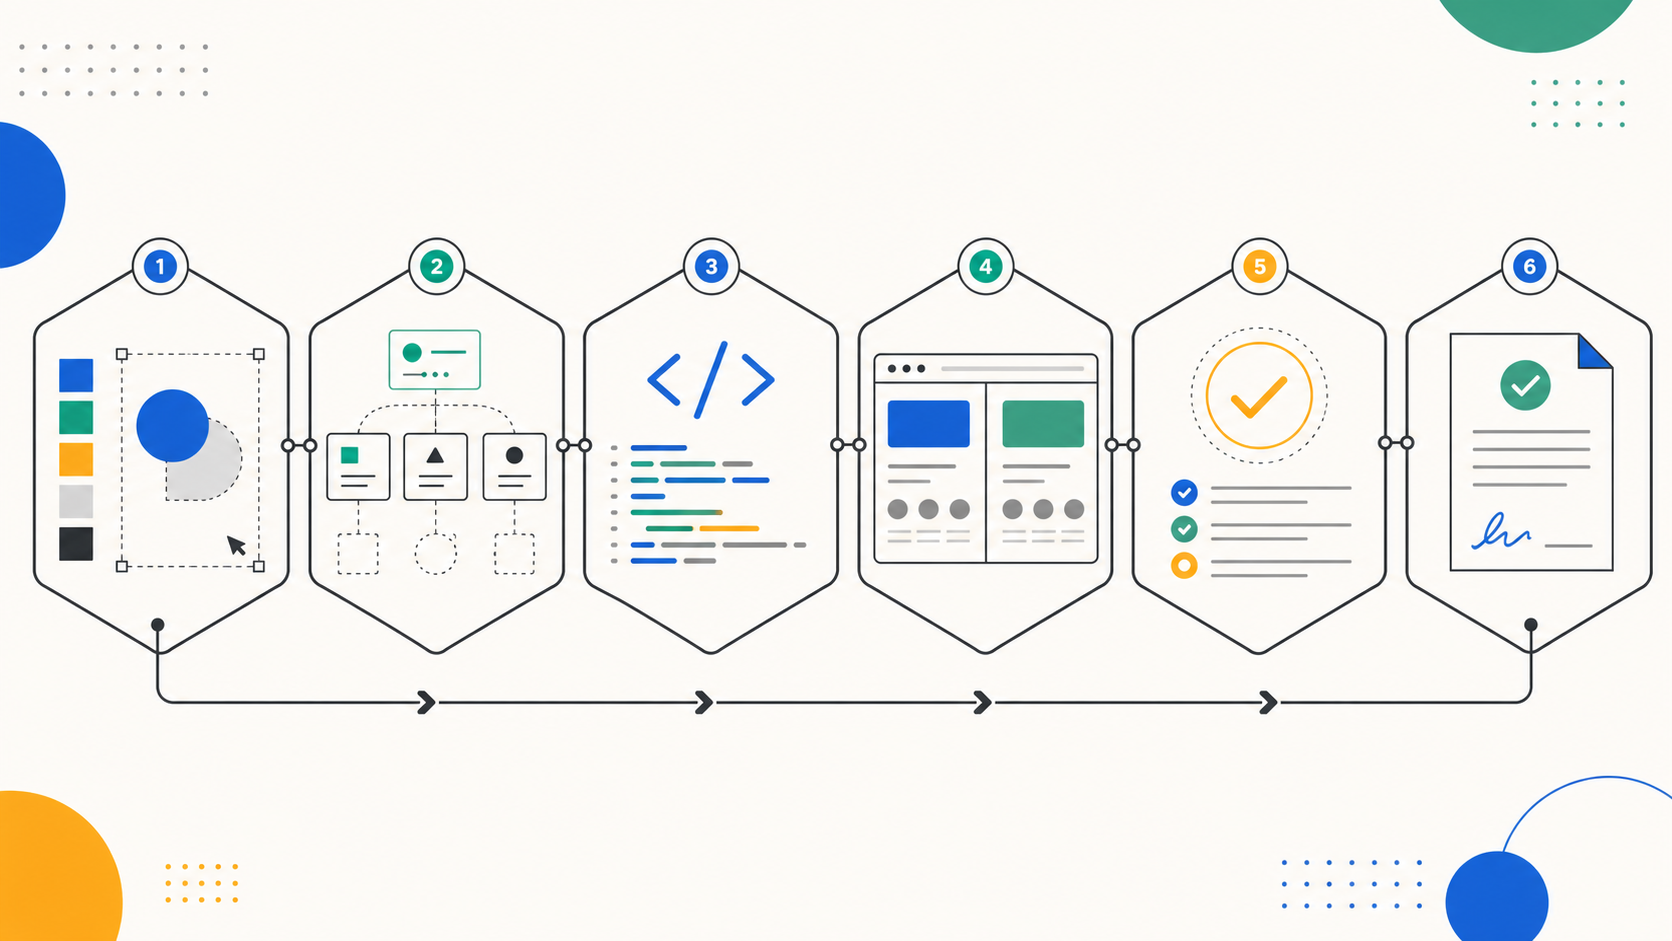
Frontend developers and design-system teams use a Figma to React agent workflow when a selected interface must become maintainable React code instead of a one-off visual imitation. This seven-step chain carries a frame, mapped component context, repository conventions, browser evidence, and accessibility checks through one accountable handoff.
Workflow Overview
Start with one chosen Figma frame and an implementation boundary, then turn documented design-system context into a React change that can be rendered, compared, corrected, and signed off. Model fit: OpenAI Codex is suited to inspecting repository context and carrying out the implementation plan; Figma Code Connect supplies component and import context, while Vercel skills supply repository and browser-review practices. Do not ask an agent to infer an entire design system from a screenshot alone.
Step 1: Inspect the Design Contract
- Target: define the exact frame, route, viewport, and user state that the implementation owns.
- Input: a Figma frame URL, selected node or screen, repository branch, and the requested route.
- Model fit: use OpenAI Codex with the Figma integration to inspect the chosen scope before editing code.
- Expected output: a short design contract that names what is in scope, what is intentionally excluded, and the viewport for review.
- Quality check: confirm that loading, empty, error, hover, focus, and mobile states are either supplied or explicitly deferred.
Inspect [Figma frame or node URL] for the route [target route] at [review viewport]. Return a design contract with visible regions, intended component boundaries, responsive behavior, supplied states, missing states, and an explicit out-of-scope list. Do not generate UI code yet.Step 2: Build the Token and Component Ledger
- Target: translate design properties into a reusable implementation ledger rather than copied CSS values.
- Input: the design contract, Code Connect snippets, mapped component imports, and available token names.
- Model fit: use OpenAI Codex to read the Code Connect context and the repository’s existing component APIs.
- Expected output: a ledger of tokens, component mappings, props, variants, source paths, and gaps requiring human decisions.
- Quality check: every design component either maps to an existing component or is marked as a deliberate new component; no guessed import path is allowed.
From [Code Connect context] and [repository component directory], produce a token and component ledger. For each Figma element, record the mapped React component, import path, variant or prop mapping, token source, and unresolved decision. Preserve the provided mappings; do not substitute a visually similar component without flagging it.Step 3: Plan the React Change
- Target: create a small, reviewable change plan before implementation.
- Input: the component ledger, existing route structure, test conventions, and acceptance criteria.
- Model fit: use OpenAI Codex to inspect local conventions and propose file-level edits without overwriting unrelated work.
- Expected output: an ordered plan listing files to edit, components to reuse or add, state handling, tests, and rollback risks.
- Quality check: the plan must preserve existing public component APIs unless a migration is explicitly approved.
Create an implementation plan for [target route] using [component ledger]. Name each file to change, the smallest safe component boundary, required data or state behavior, tests to add, and acceptance criteria. Preserve [repository conventions]; do not edit unrelated files.Step 4: Implement with Repository Rules
- Target: implement the route with mapped components, tokens, and responsive behavior.
- Input: the approved plan, component ledger, repository style rules, and fixture or mock data.
- Model fit: use OpenAI Codex together with one repository-approved React or Next.js skill for implementation guidance.
- Expected output: a focused React change that compiles, uses real imports, and keeps layout decisions in the established system.
- Quality check: run the project’s type check, lint, and relevant tests before opening the browser.
Implement [target route] from [approved plan]. Reuse the mapped components and token names in [component ledger]. Add only the behavior required by [acceptance criteria], then run the repository’s type, lint, and focused test commands. Report changed files and any blocked mapping.Step 5: Compare the Rendered Route
- Target: convert visual review into reproducible evidence.
- Input: the running route, agreed viewport, Figma frame, and browser automation or before-and-after comparison tool.
- Model fit: use the browser-review capability named in the project’s approved Vercel skill set; do not assume a screenshot is a functional test.
- Expected output: a labeled rendered screenshot, a comparison record, and a ranked list of observable deltas.
- Quality check: compare spacing, hierarchy, component state, text overflow, and breakpoint behavior at the agreed viewport.
Open [local or preview URL] at [review viewport]. Capture a screenshot, compare it with [Figma frame], and list measurable differences by severity: structure, component choice, spacing, typography, state, and responsive behavior. Do not fix differences yet.Step 6: Check Accessibility and Behavior
- Target: verify that visual fidelity did not hide a semantic or interaction failure.
- Input: the rendered route, component APIs, keyboard path, accessible names, and the comparison record.
- Model fit: use OpenAI Codex to inspect markup and tests, then validate the key interactions in a browser.
- Expected output: a concise accessibility and behavior checklist with pass, fail, or human-review status.
- Quality check: test heading order, landmarks, labels, focus visibility, keyboard reachability, contrast, error feedback, and reduced-motion behavior when relevant.
Audit [target route] against [interaction checklist]. Check semantics, accessible names, keyboard order, visible focus, contrast, responsive overflow, and error or empty states. Return findings with evidence, severity, and the smallest recommended correction. Mark uncertain product decisions for human review.Step 7: Correct and Report
- Target: close only measured gaps and create a decision-ready handoff.
- Input: visual deltas, accessibility findings, implementation plan, and the original design contract.
- Model fit: use OpenAI Codex for narrowly scoped corrections, then repeat the browser and accessibility checks.
- Expected output: a correction log and acceptance report with completed checks, deferred items, changed files, and reviewer ownership.
- Quality check: every accepted difference is either resolved, documented as intentional, or assigned to a named reviewer.
Apply only the approved corrections from [visual and accessibility findings] to [target route]. Re-run [validation commands] and produce an acceptance report: design contract, mapped components, changed files, screenshot status, accessibility status, intentional differences, remaining risks, and human owner.Implementation Steps
- Prepare the Figma side: select one frame, confirm its intended viewport, and keep the file’s component names, variants, variables, and states readable before handoff.
- Prepare Code Connect: connect the core design-system components and include imports, prop mappings, source paths, and accessible usage instructions where they exist.
- Set the repository boundary: name the route, branch, component directory, commands, test conventions, and reviewer before an agent edits anything.
- Run the chain in order: do not skip from a frame directly to a final screenshot; retain the contract, ledger, plan, comparison record, and acceptance report.
- Keep human authority: a designer or engineering owner decides intentional visual differences, product behavior, and release acceptance.
Workflow Use Cases
- Design-system teams: turn a mapped Figma component library into a controlled React production path without replacing approved APIs.
- Product developers: ship a new React route into the codebase from a reviewed Figma frame while leaving browser and accessibility evidence for code review.
- Frontend agencies: hand off a client app interface with a clear list of mapped components, intentional deviations, and acceptance ownership.
- Platform teams: use the ledger to find recurring unmapped variants before they become ad-hoc component API forks.
Troubleshooting & Optimization
- Code Connect is missing: do not let the agent invent imports. Start with the existing component source path, then create an explicit mapping task for the missing design component.
- The screenshot is close but the route feels wrong: inspect layout state, text content, breakpoints, and component variants before changing spacing values.
- Visual review passes but keyboard use fails: treat the semantic failure as release-blocking and repair markup, labels, focus order, or state feedback before another comparison.
- The agent touches unrelated files: tighten the Step 3 plan to an allowed-file list and ask for a fresh diff before continuing.
FAQ
- Q: What is a Figma to React agent workflow?
A: It is a controlled sequence for moving a selected Figma interface into React through mapped components, repository rules, browser evidence, accessibility checks, and an acceptance report. - Q: Does Code Connect generate a complete production React application?
A: No. It enriches design context with component usage, properties, imports, and instructions. The repository implementation, tests, behavior, and release decision still need engineering work and review. - Q: Why use screenshot comparison if Figma already shows the design?
A: The rendered route exposes viewport behavior, real content flow, implementation states, and regressions. It provides review evidence but does not replace semantic and accessibility validation. - Q: What should happen when a Figma component has no code mapping?
A: Record it as an unresolved decision. Reuse a confirmed equivalent only with owner approval, or create a dedicated component and Code Connect mapping task rather than silently guessing.
Use this workflow when a design handoff needs implementation evidence, not just a polished first render. Explore Prompt Engineering Guides and Coding & Development for adjacent implementation systems.
Share your verified component-mapping practice in the comments, or follow @bigprompt for more reusable AI workflows.
Related Big Prompt Hub pages:
Agent Skills Evaluation Workflow: Evidence Before Installation
AI Short Drama Character Consistency Workflow for Multi-Shot Episodes
Home Renovation AI Workflow: Preserve the Original House
Agent Skills Collection Built Around UI Workflow Playbooks
Yao GEO Skills: 21 Reusable Generative Engine Optimization Skills
Big Prompt Hub Review
Use this workflow when your team already has a Figma frame, a React codebase, and an owner who can decide product intent. Start with Code Connect mappings where they exist; add browser comparison after implementation, and do not accept visual similarity as evidence of semantic or interaction quality. A missing mapping or unresolved state is a handoff decision, not an invitation to fabricate a component API.